Wednesday, March 30, 2011

Luggage Tags

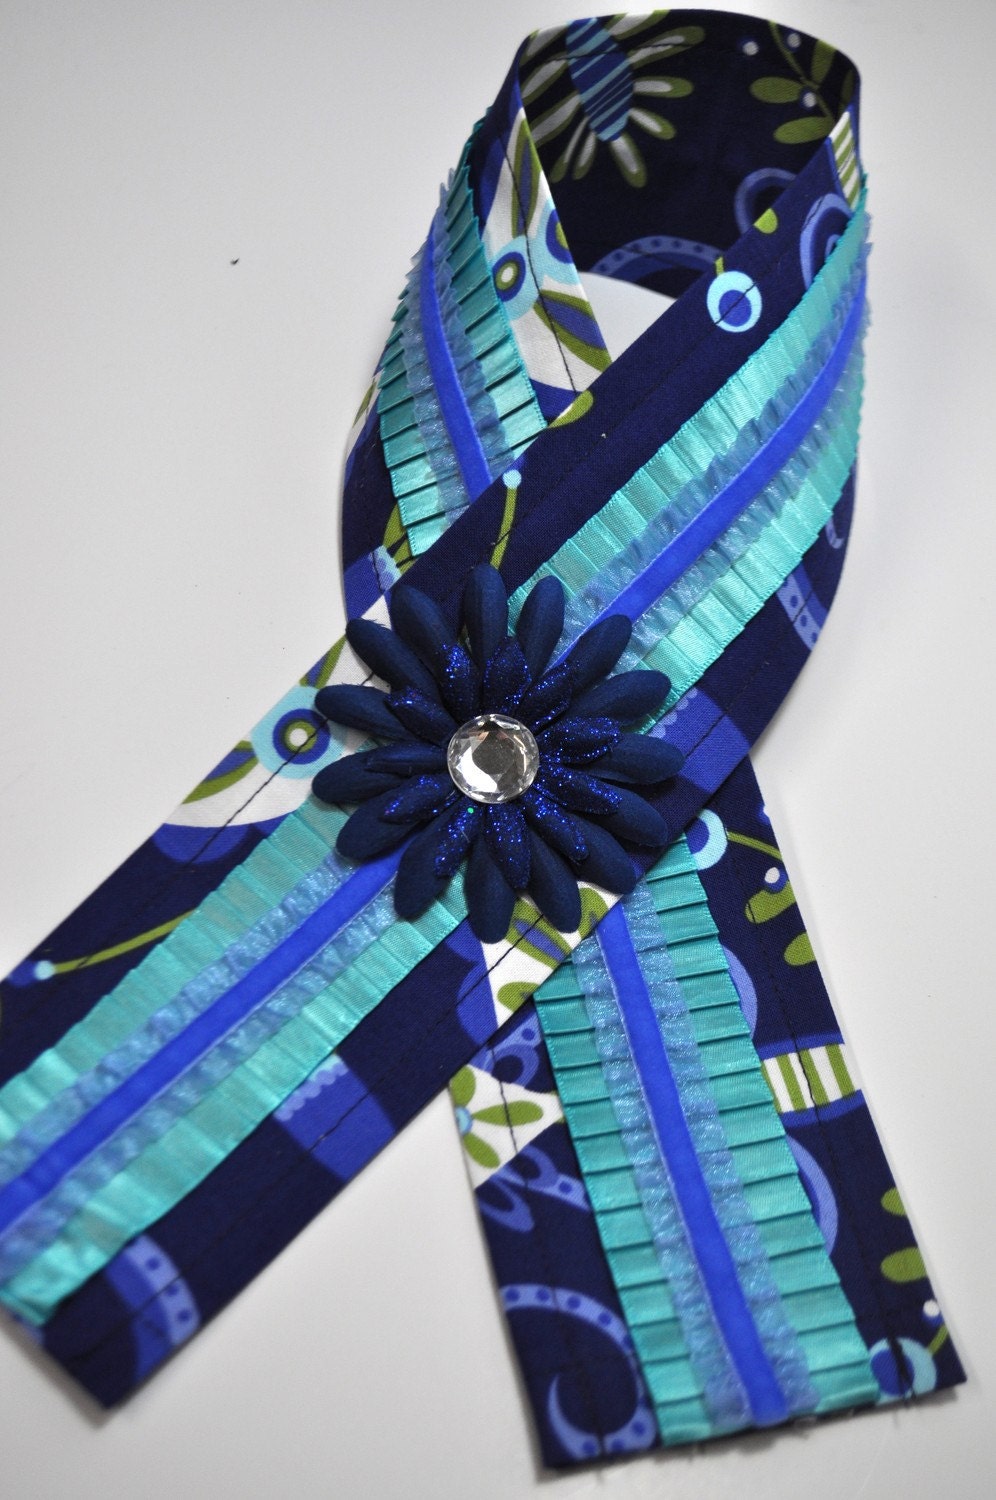
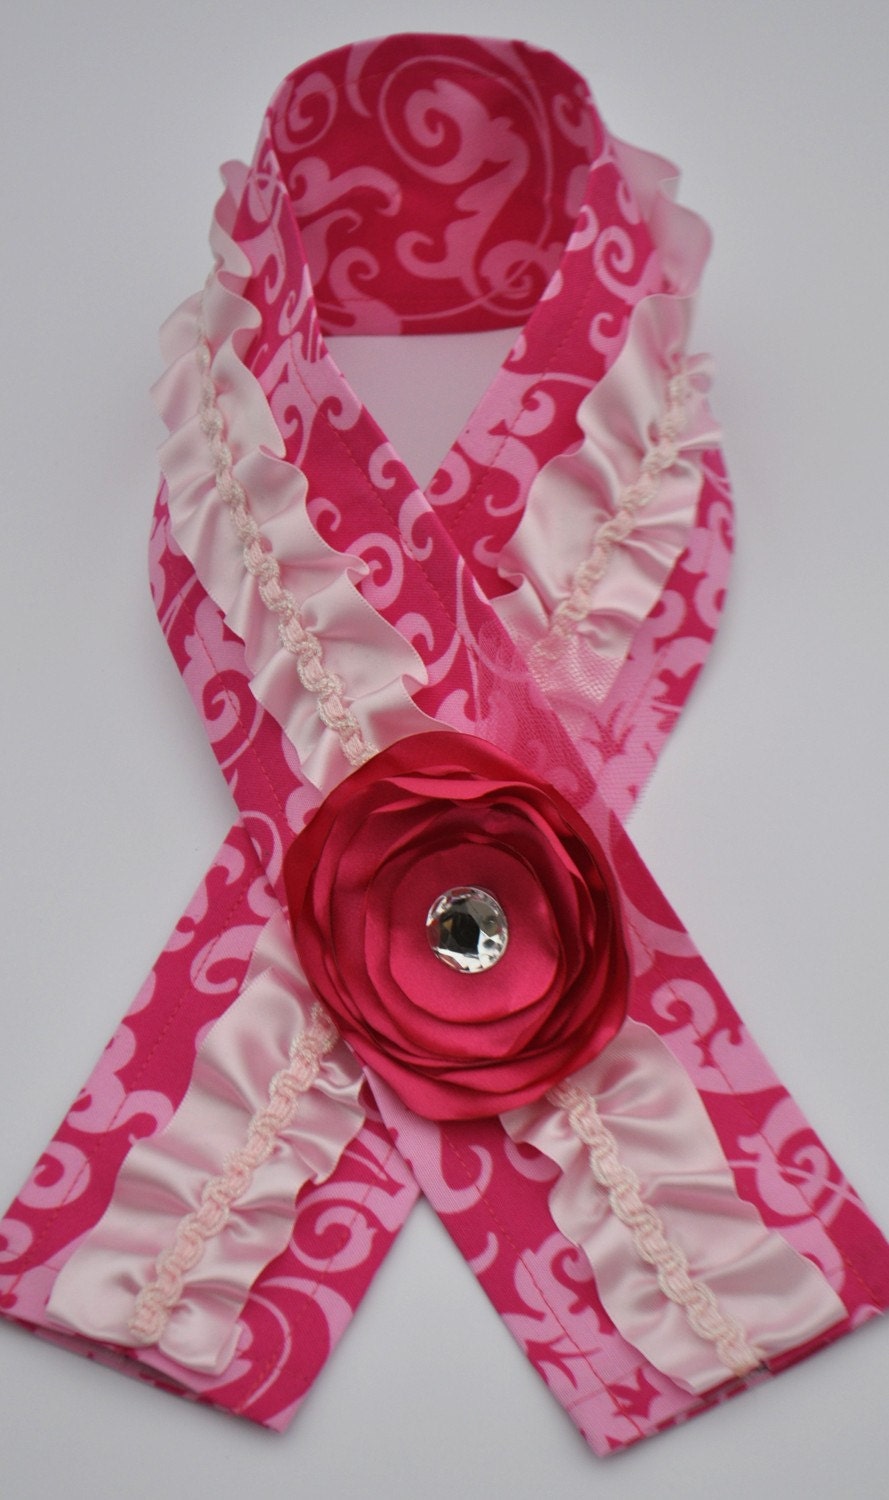
This year Mrs. Rooster’s oldest daughter is playing softball!  Yay! A reason for us three to make something fabulous!  We decided on baseball bat bag tags and hair bands.  These are two items that can be personalized and jazzed up without costing a ton.

You can purchase plastic name badges from an office supply store; however, Mrs. Rooster found hers at Wal-Mart for less than $5 for a dozen.  They come in horizontal or vertical- choose whatever one you like the best.  We cut scrapbooking paper to fit the size of the plastic badge, used the Cricut for each girls’ initials and then jazzed them up with rhinestones.  Gotta have the BLING!  They turned out super fabulous, and for the price- you just can’t beat it.  Seriously, I think we could have used scraps if we really wanted to.

LUGGAGE TAG
LUGGAGE TAG (2)
 

The hair bands where super easy as well.  We cut a several pieces of ribbon at different lengths, and then tied ALL of the ribbon to the hair band at once.


HAIR BANDS (2)
HAIR BANDS


Tuesday, March 29, 2011

Paper Rabbit Hanging

I absolutely adore the vintage Easter bunnies. I was squealing when I saw this paper pocket that my Mom made. It is so simple and so fabulous; I am pretty sure she used all scraps too! The vintage bunny is an image she found online. Oh I wish there were more hours in the day for craftin’!


EASTER DECOR


EASTER DECOR (2)

EASTER DECOR (4)


Monday, March 28, 2011

Easter @ Mom’s- Paper Mache Eggs

I am so jealous that my Mom beat me when it came to making these paper mache eggs!  I wish she lived closer so we could get together and make more things, more often.  These eggs came out so classic looking; exactly how I imagined them.  They are displayed on candle sticks that sit on the dining room table.  Of course, I have purchased some paper mache eggs from HL but I can’t seem to get them done.  Way too many things on the crafty to do list!

PAPER MACHE EGGPAPER MACHE EGG (2)

Check out a few more things that are at my parent’s house.  I need a house the size of theirs!
I love the way this apothecary jar looks with the blue eggs!
EASTER DECOR (6)

The table  ALWAYS has a four person place setting set.  Mom has a million dinner plates, chargers, napkins, place mats and etc.   She is really good at mixing and matching all of the pieces together.  (You're probably wondering how we eat at the table with all the "decorative dishes"? We place a paper plate on top of the “place setting” dishes! LOL)
EASTER DECOR (3)

This particular bird will forever remind me of home.  Mom has had a collection of birds since before they were “cool” and popular.  Under the cloche with a nest, the bird looks more fabulous and luxurious than ever.
EASTER DECOR (5)


Sunday, March 27, 2011

Egg Topiary


I am super excited about this next project.  I would like to say that I thought of it myself but I did not; I found it over at {Let It Shine}.  She has some of the most amazing topiaries and when I saw this one, I knew it would be fabulous in my home.  I sent my Mom the link and she made one too!  I am totally lovin’ the blue.  Head on over to {Itsy Bitsy Paper} for the full picture tutorial.

EASTER EGG TOPIARY FINALEASTER EGG TOPIARY FINAL MOM

REMEMBER MY ETSY SHOP IS OPEN! {HERE}
CAMERA STRAP COVERS UNDER $20
CUSTOM ORDERS WELCOME! HERE ARE A FEW:


Friday, March 25, 2011

Easter Bunny Peep On A Straw

Before I get to my craftin' idea . . .  Be sure to go to Coffee Cups & Crafts!! There is a special going on over there.


 I saw this idea “somewhere” years ago or I think my Mom was telling me about it but the idea never was saved because I wasn’t blogging at the time.    This is so stinkin’ easy and looks really fabulous!  If you bring this idea to your Easter dinner table- your family will think you are awesome!
I found some funky straws at Target, (I think.) and stuck it
right through the middle of the peep!  Takes about 5 minutes!
EASTER PEEP STRAW (2)
EASTER PEEP STRAW


Thursday, March 24, 2011

Guest Post: Lindy from Itsy Bitsy Paper

I am super stoked to have Lindy, from Itsy Bitsy Paper, at my place to give a tutorial!  Lindy is a really talented when it comes to stationary and invitations.  Oh I can't wait to get my note cards in the mail that I ordered from her Etsy shop {HERE}; very reasonably priced!  She is super crafty too! Be sure to check out her {BLOG} for some great ideas and inspiration.


I am Lindy, from Itsy Bitsy Paper and I'm thrilled to be here on Haley's great blog sharing a fun FREE Download for Spring with all of you.  I hope you will stop by my blog someday soon and say "Hi".

I love creating "freebies" for all of you and I wanted to create a spring themed one.  It is a very simple design but I hope you will add some embellishments and make it fun and colorful.  It is set up for a 5x7--I printed mine on 5x7 cardstock but framed it in an 8x10 frame.

You can Download it HERE
•••••••
••••••• 
*This is an old piece of artwork I had laying around
that I covered in decorative paper.
••••••• 
•••••••
••••••• 
•••••••
•••••••
••••••• 
••••••• 
•••••••
•••••••

BE SURE TO ENTER THE CAMERA STRAP COVER
GIVEAWAY OVER AT CRAFT-O-MANIAC!!  
SPONSORED BY MY {ETSY SHOP}  ENTER {HERE}

Tuesday, March 22, 2011

GIVEAWAY!!

Jen over at Craft-O-Maniac is hosting a
giveaway sponsored by haleydavis Etsy shop!
You can enter to win a super snazzy camera strap!
Thanks Craft-O-Maniac for hosting!
{winner announced Friday morning!}


Wednesday, March 16, 2011

Easter Peep Arrangement

I sure do love Easter peeps! Too bad I think they taste like poo!  However, they are just too stinkin’ cute.  You can’t have Easter without peeps.  My peeps went into a vase instead of in my mouth.  I paired the peeps with some jelly beans and spring like flowers.  I found this huge vase on clearance at Target a few months ago.  It turned out to be just the right size for this arrangement.  You can check out the smaller one {HERE} that I did last year. 


EASTER PEEP

EASTER PEEP2EASTER PEEP3


Time to change the subject for a moment . .  . .  I finally decided to go ahead and open my own Etsy shop!! {HERE)Woo hoo!! I am super excited about it.  I don’t have a lot of variety in there yet, but I will add little by little.  Go check it out and let me know what you think.  I am my worst critic.  I really hope it does good, especially since I have some super snazzy camera strap covers for under $20. 

http://www.etsy.com/shop/haleydavis

ETSY SHOP

Bunny Topiaries

I walked into Pier 1 the other day, just to browse around and possibly get some inspiration or ideas.   My eyes went straight towards the Easter décor.  I spotted the cutest bunny topiaries for ONLY $3!! I picked up two of them! I knew exactly what I wanted to do.  I left Pier 1 and went to the dollar store. 

(Is the word "topiaries" really a word? My spell check says no!)

The $3 bunny.  Isn’t he cute? All fuzzy and fresh looking.
DSC_1749

I purchased the blue pot from DT.
Already had some floral foam & moss on hand.   
Those came from DT too!  Quick, easy, cheap and super fabulous! 
My kind of décor!  He looks fabulous on my desk at work.
DSC_1748

This arrangement sits on my dining room table.
I placed a bunny in the arrangement; kind of unexpected.
(I tried to change out the big arrangement for something
more “springy” but it wasn’t happening with my décor.)
DSC_1744

The day I left Pier 1, I immediately called my Mom so she could
get in on the goods too!  Here is what she came up with.
The green balls came from WM for about $3 and more moss from DT.
I think it is so awesome that two people can take the same item
and create two totally different looks.  I am in love with her arrangement.
DSC_1592

Check out these “mossy balls” that she made.
Styrofoam balls on clearance, cover with glue and 
add on DT moss. 
DSC_1593


Monday, March 14, 2011

Diva Rubber Gloves

I am back!!  Woo hoo!  Thanks to everyone who gave me some much needed words of encouragement from my "Slacker" post.  It really meant a lot and I am grateful to have such caring followers.  It's nice to know that there are people out there who care, even if I've never met you face to face.

This project is inspired by my BFF from college, Mrs. S.  She was always wearing rubber gloves to clean & I thought she was wack!  This was a super quick and easy project.  Cheap too! The rubber gloves came from DT and came in several colors. I ran the fabric through my ruffler foot and then sewed the fabric onto the rubber glove.  I had assumed that the rubber wouldn’t be able to feed through my machine, but actually, it worked out great!  When I ran it through my machine, the rubber was on the bottom and the fabric on top. 

RUBBER GLOVESRUBBER GLOVES1
RUBBER GLOVES3RUBBER GLOVES4
RUBBER GLOVES2
RUBBER GLOVES5RUBBER GLOVES6RUBBER GLOVES7RUBBER GLOVES8

Time for my friends to get a jump start on their spring cleaning! 
Made a cute tag . . . I wanted some snazzier wording but I couldn’t come up with anything.

RUBBER GLOVES9RUBBER GLOVES11
Feel free to right click on the image and use it for yourself.
CLEANING DIVA TAG


Related Posts with Thumbnails